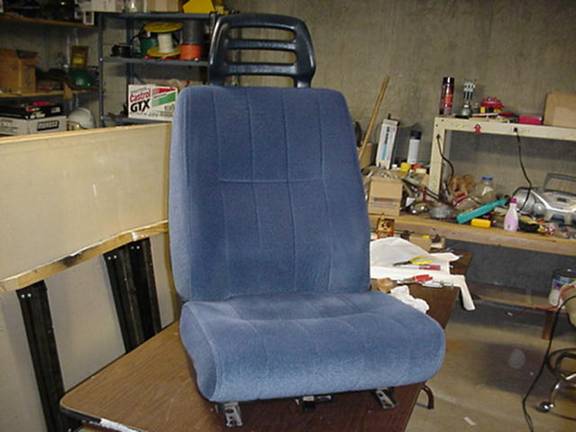
Volvo seat Bottom
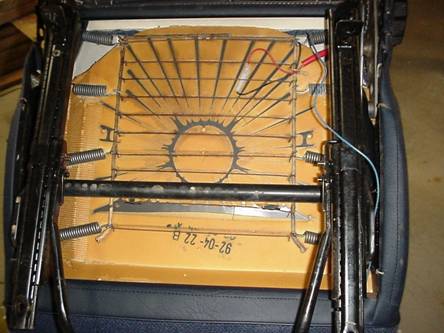
A. Seat heater hookup, shows where the heater connector is located, The connector is tucked under the Heat vent under the seat.

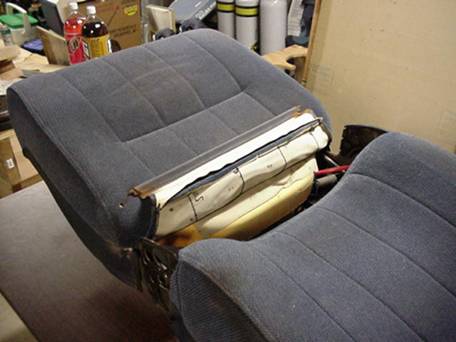
B. The original car seat with the bad backrest foam

 Frame sticking through
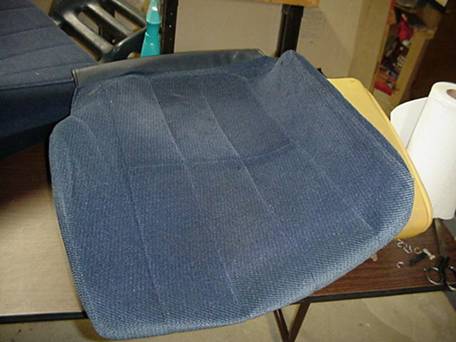
C. donor seat, grease on seat and holes in the cloth but foam is excellent out of a ’92 245.

D. looking at butt seat foam from donor seat. Junkie ripped the connector off of heater.
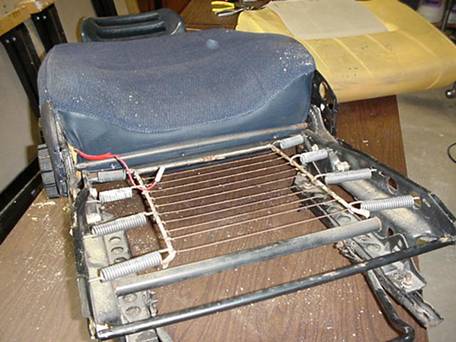
E. Showing the hardware to take off when taking seat out of car. This Seat has the entire bracket. It’s best if you unbolt just the four 13mm nuts and separate the upper bracket from the Slide bracket that is mounted to the Floor. . Remember the seat is shot upside down.
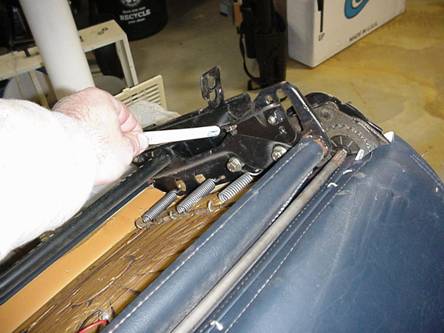
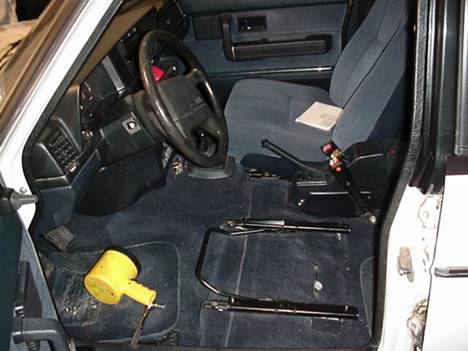
Keeping the Slide bracket in the car.


Removed hardware
F. Removing steel bar from rear section of back seat. Just pull up until it releases from one side then the other will release.
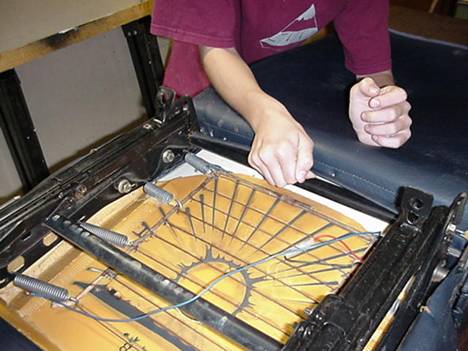
G. Removing steel bar forward part of seat.
H. Hog Rings on sides of seat QTY 4. two pair of long nose pliers to bend apart.
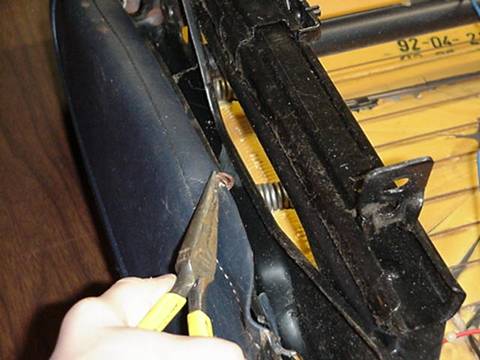
J. There are these little side clips that you have to loosen then tap off.
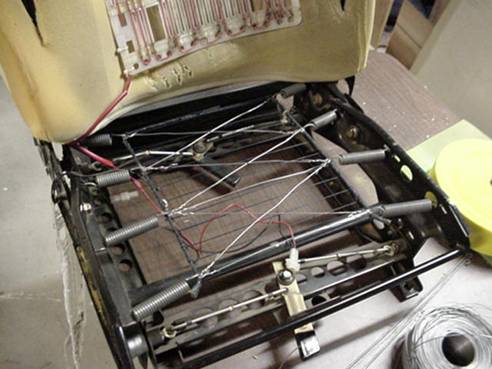
K. There are two Hog Rings in the middle of the seat. I’m trying to point to them. They must be removed too. (seat heater from ’90 and later cars showing).
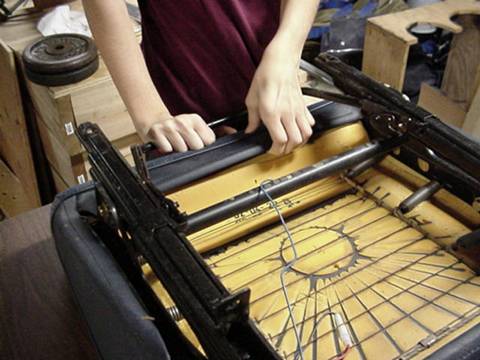
L. shot of nothing left but the springs.
M. I test washed the Donor seat cover; Washed in cold water and semi dried. Came out soft as a baby’s bottom. And sooo much cleaner then went it went in. No shrinkage.No negative affects…. Do It!
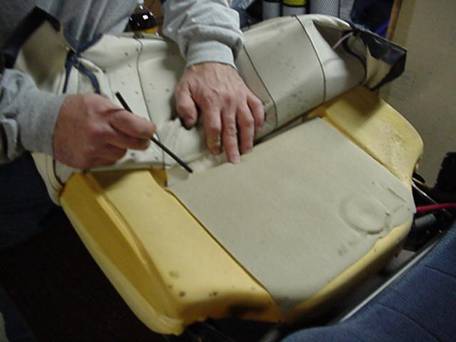
N. This shows the week area in the lower seat.
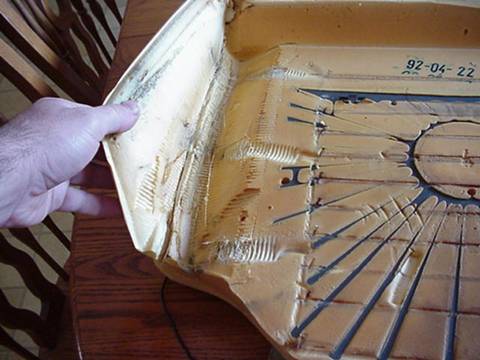
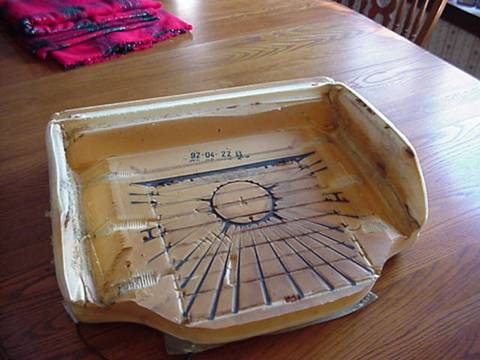
O. Looking at foam from bottom , before patching
P. Size of patch to put on each side. Smaller patch is used at the tear area then this larger one is applied over it. The patches I used was call Batting from an upholsterer. He gave me some ‘scraps’ that was more than enough. As an alternative, I’ve recommended cutting up the Legs on a pair of Bluejeans to do the job.
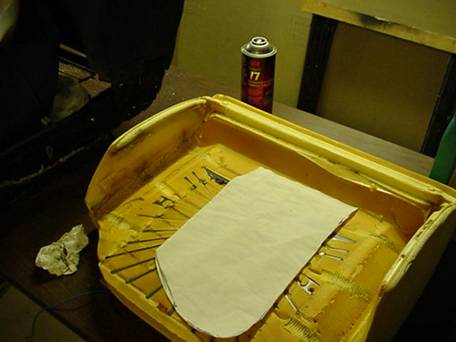
Q. Small patch shown. All put on with Spray adhesive 3M 77. Recommended by a Professional upholsterer and found in Wal-Mart.
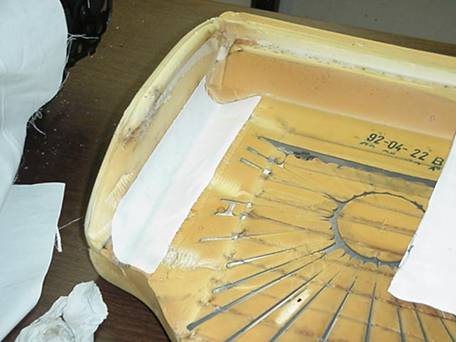
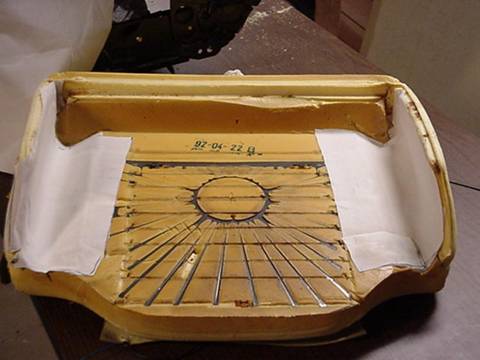
R. patches on both sides. To fix and reinforce.
To replace the Grid you can use a large ‘C’ clamp to pull the grid close so you can reinstall the Springs.
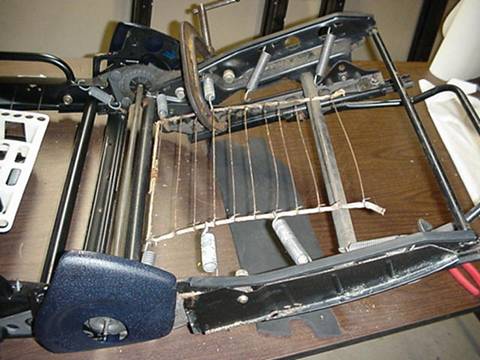
I added extra wire across the Grid to take some strain off of the grid.