240 Volvo Differential Re-seal
Leaky Pumpkin
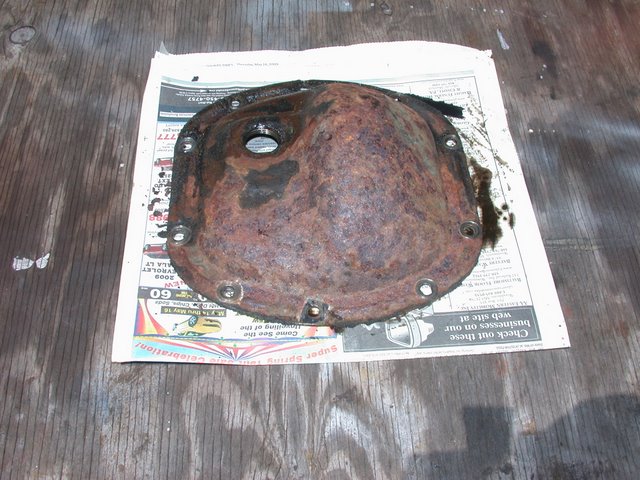
This is about the rusty cover and a dripping pinion seal on a 1979 Volvo 244.

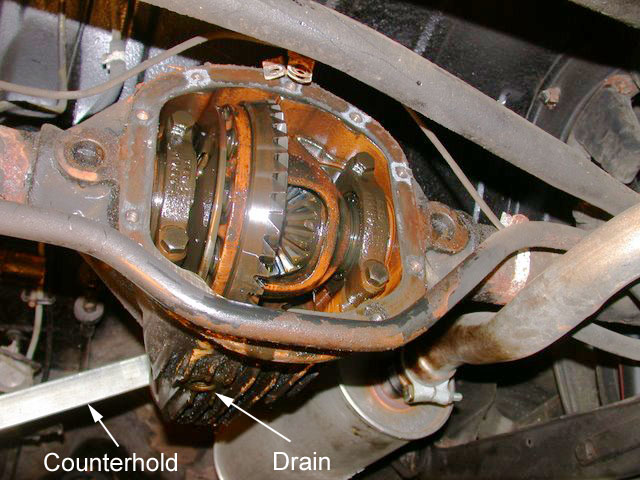
First thing to do is ensure the fill plug is removable. A finger through the fill opening tells me the fluid level hasn't fallen much. Next, the fluid is drained, the cover removed, and the nut on the pinion is removed.

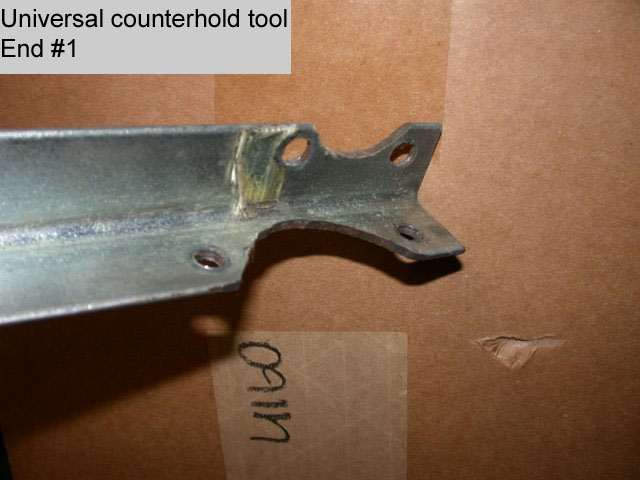
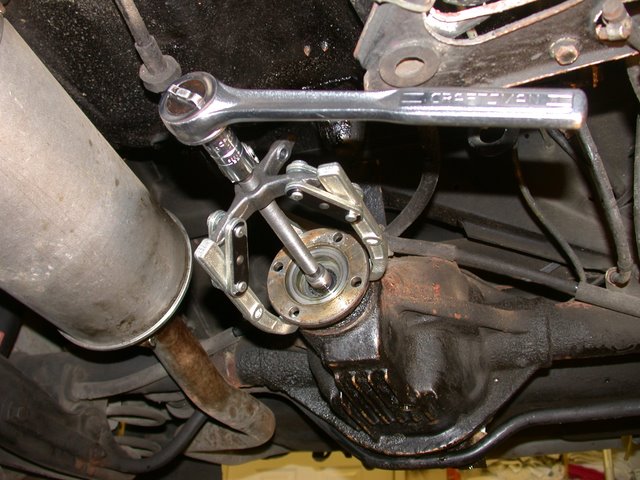
To remove the nut, it helps to have a way to hold the flange from turning. I improvised a counterhold from a piece of 1" mild steel angle that was handy. As you can see, I built it backward, and it ripped.
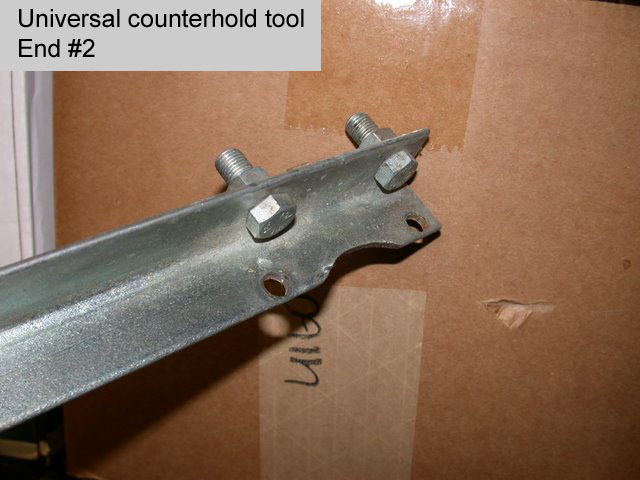
I was just lazy about digging up this previous version, which already had all four "ends" configured for other projects. Turned out the 3/8" bolts already had the right spacing.
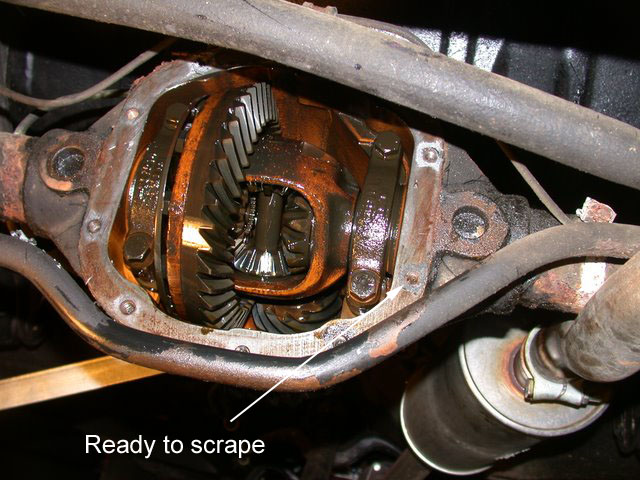
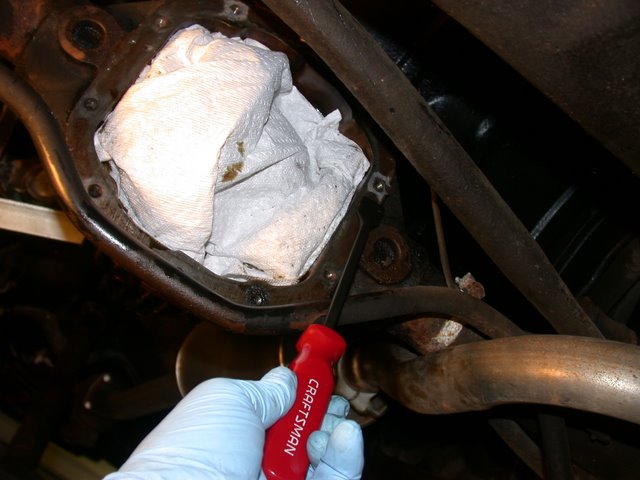
Scraping this gasket was pretty easy as gasket scraping goes.
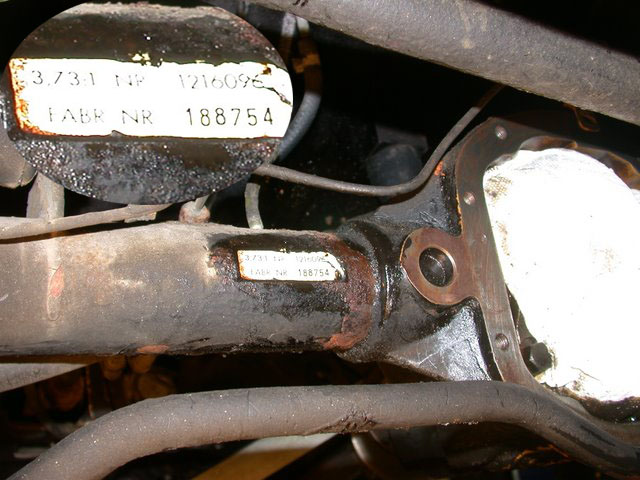
I think I was looking for an "S" in the number, to indicate I'd have special torquing needs on the pinion nut.
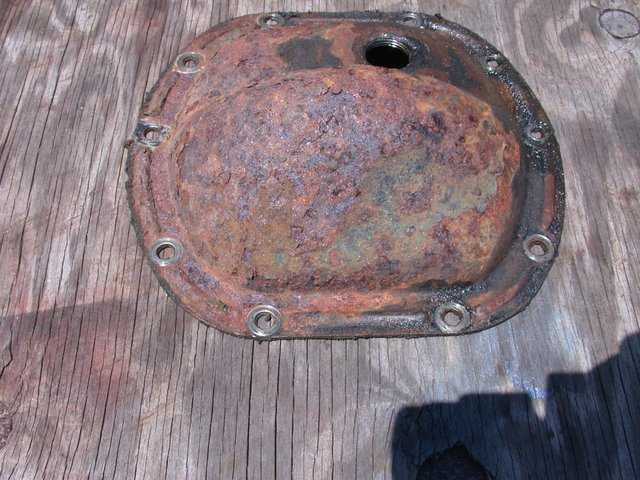
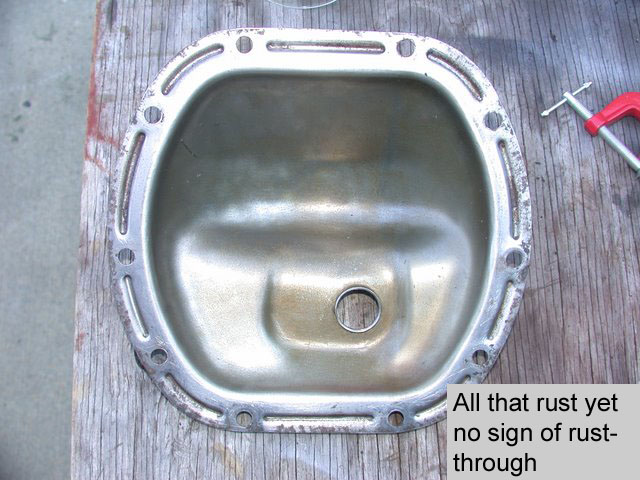
Tried to find a cover at two yards -- nothing looked any better, and it is a common 10-bolt pattern.
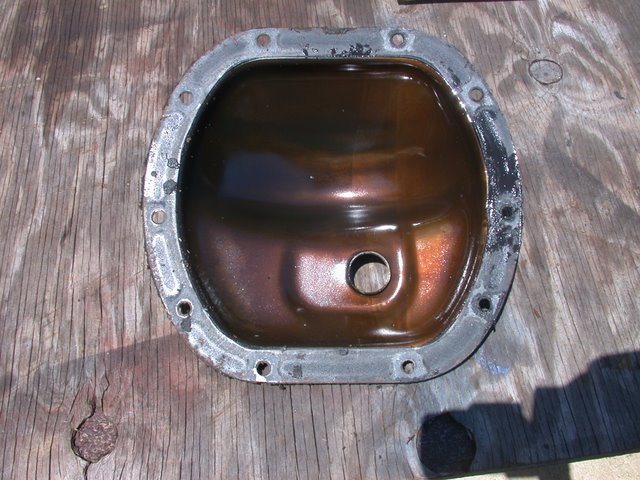
No evidence of holes.
Flange pulled without difficulty.
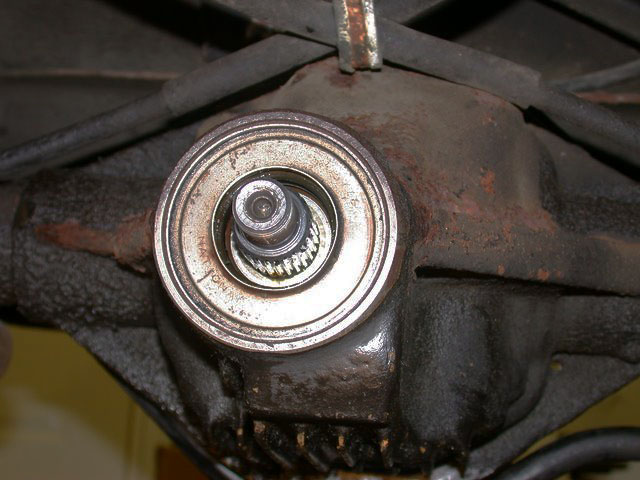
The existing seal is original. The word on the shield is "National."
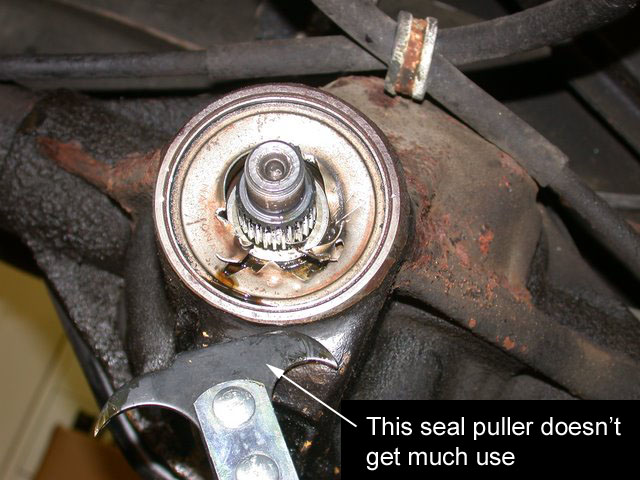
It is really "on there."
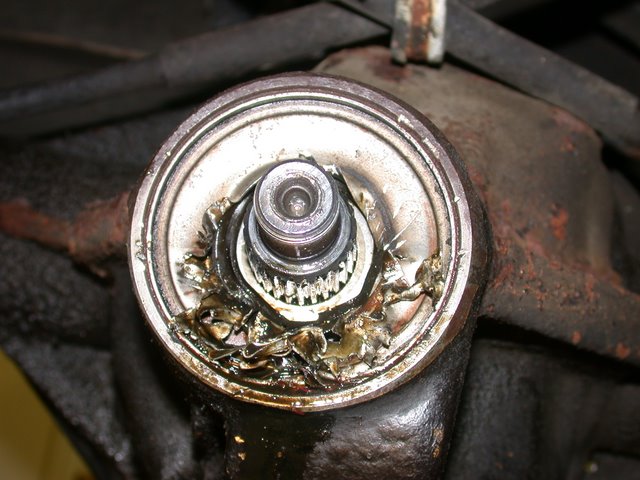

Managed to get the shield and seal out without beating up the housing too badly.
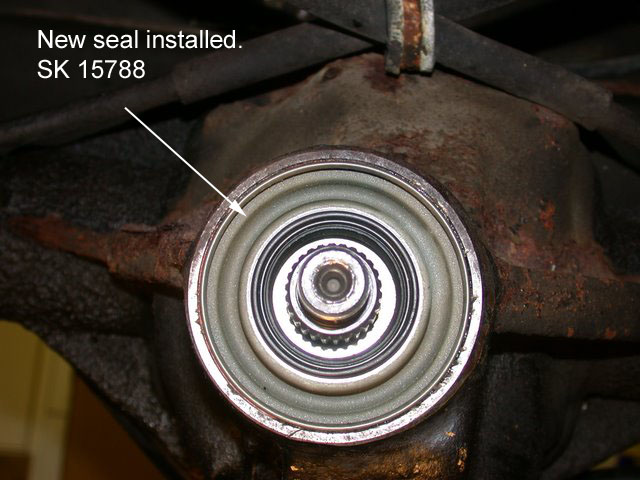
Seal taps in flush.

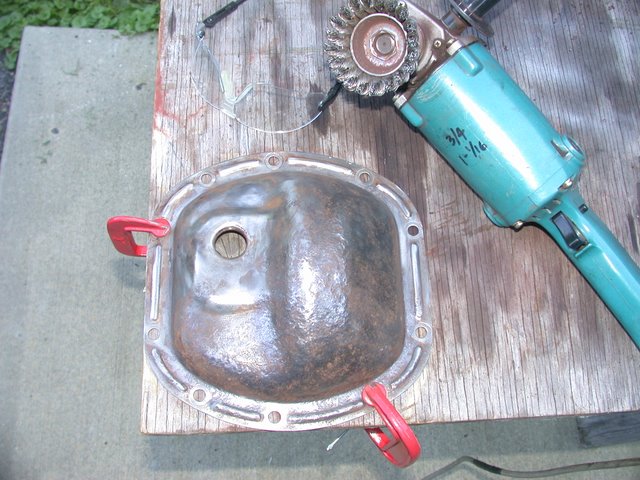
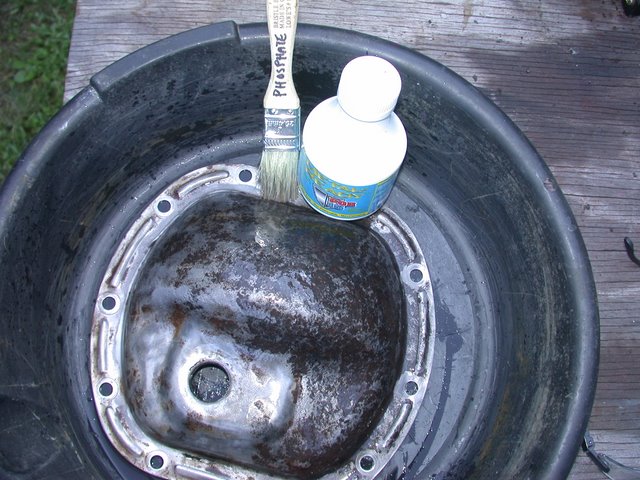
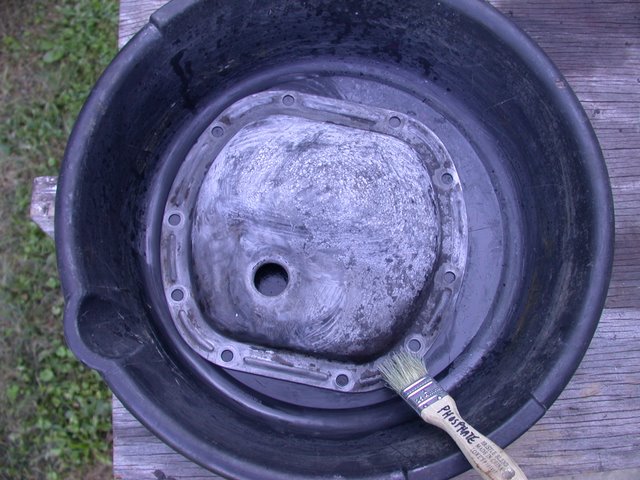
First step in the POR-15 process is degreasing. Not shown, I did that under hot water in the laundry tub. Once dry, the part to be painted is treated with phosphoric acid rust converter.
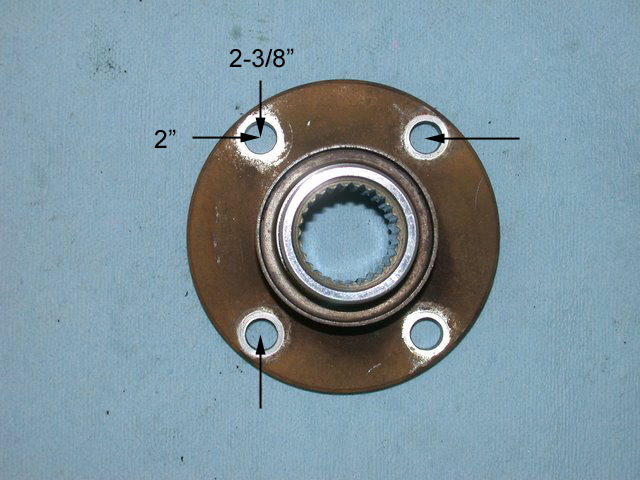
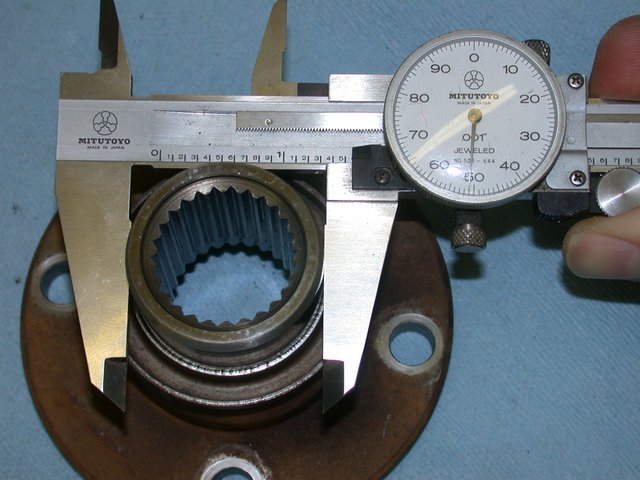
While it was converting rust, I took some measurements.
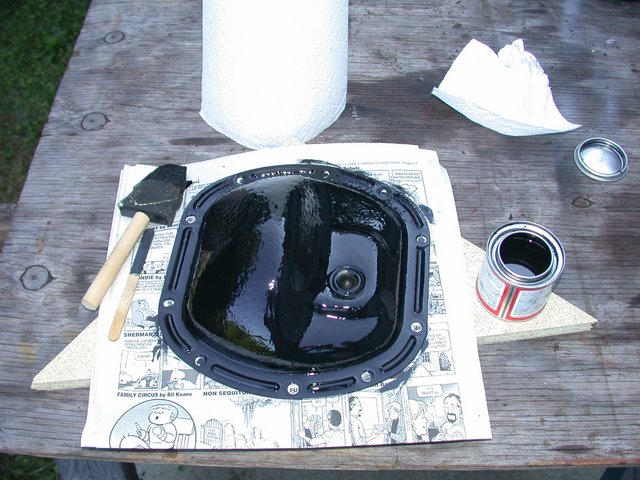
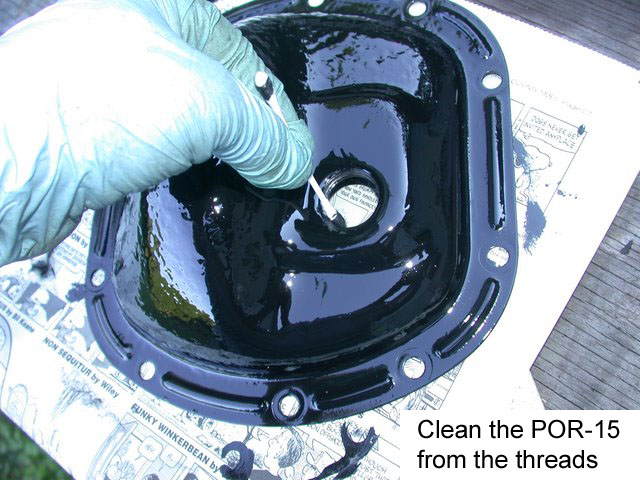
This stuff looks wet a day later, but it is hard as a rock. I used a very small amount of pipe dope on the fill and drain threads, filling with 'spensive Walmart synthetic.
Six months since doing; not a drop yet.
Return to links index