1984 Volvo 244 - 331,145 Miles
Attempt to improve lighting.
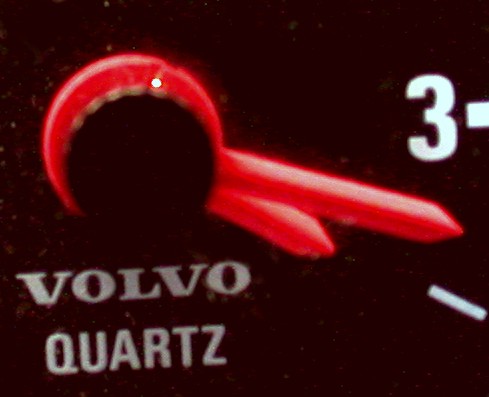
The lighting seems inadequate even when compared to the other gauges which
aren't much better.
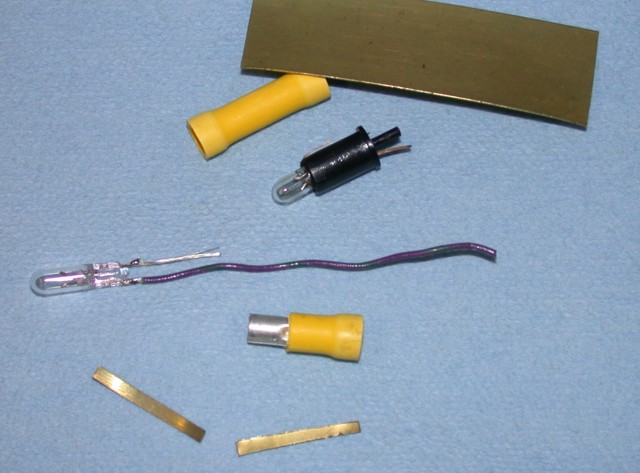
This is an attempt to improve it by moving the light closer to the lucite gauge face illuminator
using scraps easily found around the workshop. I probably wouldn't have
bothered with this except the clock light burned out yesterday.
I tried a couple 1500 mcd blue LEDs
at their absolute max, which although more exotic than these junk parts did not
disperse well around the face.
But moving the stock lamp closer did seem to improve the overall illumination
at the sacrifice of being evenly dispersed.
One serious advantage of an LED approach is the reduced heat. While
tinkering with the stock lamp I noticed the clock gets quite warm and the lamp
is snugly between those electrolytic motor driver capacitors that dry up and
cause the clock to quit in the winter.
But this isn't about the LED trick, this is done with a bit of wire, a yellow
(10-12
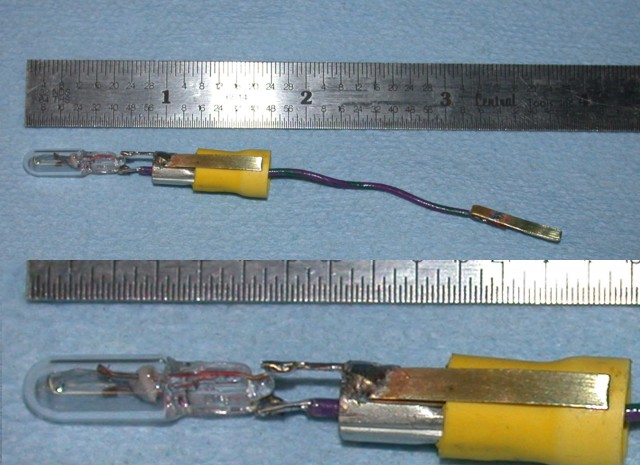
I folded a thin shim and tucked it into the insulator to use as a ground contact. Passed the hot lead through the splice and added a thicker shim-stock tab to mate with the tiny 1/8" faston with the lamp power. I had to be quick with the soldering; the plastic distorts at low temperature. Then to get it into the clock I had to file a few strokes on the solder joint to get past the back of the can.
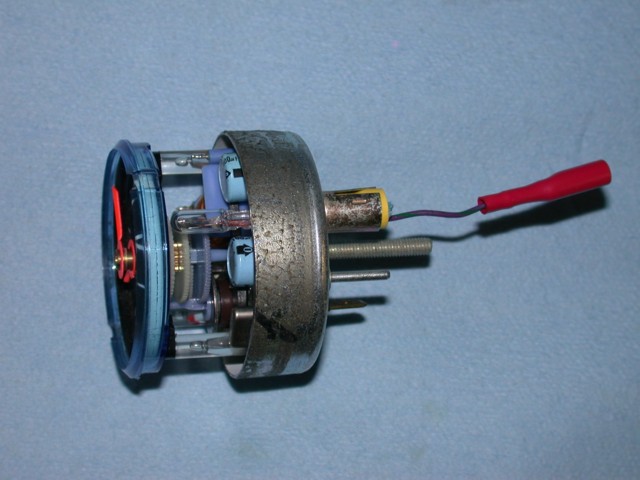
The clock was opened a couple years ago to change the capacitors, but I opened it again to play with the LEDs and check out the white matte finish of the inside of the can. It was definitely painted for light dispersal. A cocktail toothpick (not shown) is jammed into the yellow splice to keep the wire in place and relieve stress on the soldered in lamp. A piece of shrink sleeving should protect the hot lead from getting into trouble. The car this is installed in has all the gauges wired to work and light up when the key is inserted (fuse #4 on the 83 and 84 LH2.0 cars). That way I can actually watch the cranking voltage on the voltmeter, which is well into the red and almost on the peg. But the point of discussing this is to say there is no dimmer rheostat in the accessory gauge's path. Don't know why anybody would want to dim these lights anyway.
Thanks for getting this far. email: benstein
at cleanflametrap dot com